Running Ember under Docker
Prerequisites
Access TimeBase using one of the following options:
- To access market prices, Ember requires the Enterprise version of TimeBase.
- To run TimeBase locally, use the TimeBase Initializr. You can also connect Ember to an existing TimeBase server running nearby.
Log in to a private Docker repository with ember container images using the credentials provided to you:
docker login -u yourusername --password-stdin registry.deltixhub.com
Configure
Ember uses two designated directories:
- The Home directory contains configuration files for Ember itself (i.e., exchange connectors, data warehouses, logging configuration, etc.). This directory can be mounted as read-only for Ember containers. This directory is identifiable by the
EMBER_HOMEenvironment variable inside the container. - The Work directory is used for all output files (i.e., Ember Journal that records all trading activity, application log files, performance metric counters, etc.). This writable directory should be placed on a fast disk (NVMe, high IOPS volume, etc.). This directory is identifiable by the
EMBER_WORKenvironment variable inside the container.
To configure Ember:
-
Create
emberhomeandemberworksubdirectories. -
Inside the
emberhomedirectory, create a configuration file calledember.confand add the following block:timebase.settings {url = "dxtick://localhost:8011"}You may need to correct the host, port, and logon credentials to match your TimeBase server.
Ember configuration files use the HOCON format described here.
-
Tell Ember which TimeBase streams have market data:
pricing.settings {liveSubscription {streams = ["COINBASE", "BINANCE"]}}Make sure the stream names the match exchanges you configured in the TimeBase Initializer.
-
Configure a simple exchange simulator so you can send test trades. Add the following configuration fragment to enable this trading simulator as a
SIMdestination:connectors {SIM : ${sim} {}}
Start
Finally, start the Ember container:
docker run \
 --network host \
 -v ./emberhome:/var/lib/emberhome \
 -v ./emberwork:/var/lib/emberwork \
 registry.deltixhub.com/deltix.docker/anvil/deltix-ember:1.14.165-dev
Notice that doing so maps the Ember home and work directories discussed above.
Startup output may look like this:
    ______          __
   / ____/___ ___  / /_  ___  _____      Version:  1.14.165
  / __/ / __ `__ \/ __ \/ _ \/ ___/      Timebase: 5.6.101
 / /___/ / / / / / /_/ /  __/ /          Home:     ~/home/frodo/emberhome
/_____/_/ /_/ /_/_.___/\___/_/           Copyright (c) 2024 Deltix, Inc.

29 Sep 12:49:30.358422 INFO [trade-engine] Log is replayed, messages read 0
29 Sep 12:49:30.361264 INFO [trade-engine] Startup complete. This server is ready to process new requests.
Monitor Trade Flow
Ember has an app, Ember Monitor, that can monitor events inside Ember OMS. This includes the state of orders, trading connectors, risk limits, and internal metrics like queue fill rate.
Ember Monitor can be started using an alternative entry point /opt/deltix/ember/bin/ember-monitor of Ember container:
docker run \
 --network host \
 -v ./emberhome:/var/lib/emberhome \
 -v ./emberwork:/var/lib/emberwork \
 --entrypoint /opt/deltix/ember/bin/ember-monitor \
 registry.deltixhub.com/deltix.docker/anvil/deltix-ember:1.14.165-dev
Notice how Ember Monitor needs the same home and work volume mounts we setup earlier for Ember.
Once the container completes initialization, you can access the Monitor UI on the default port 8988:
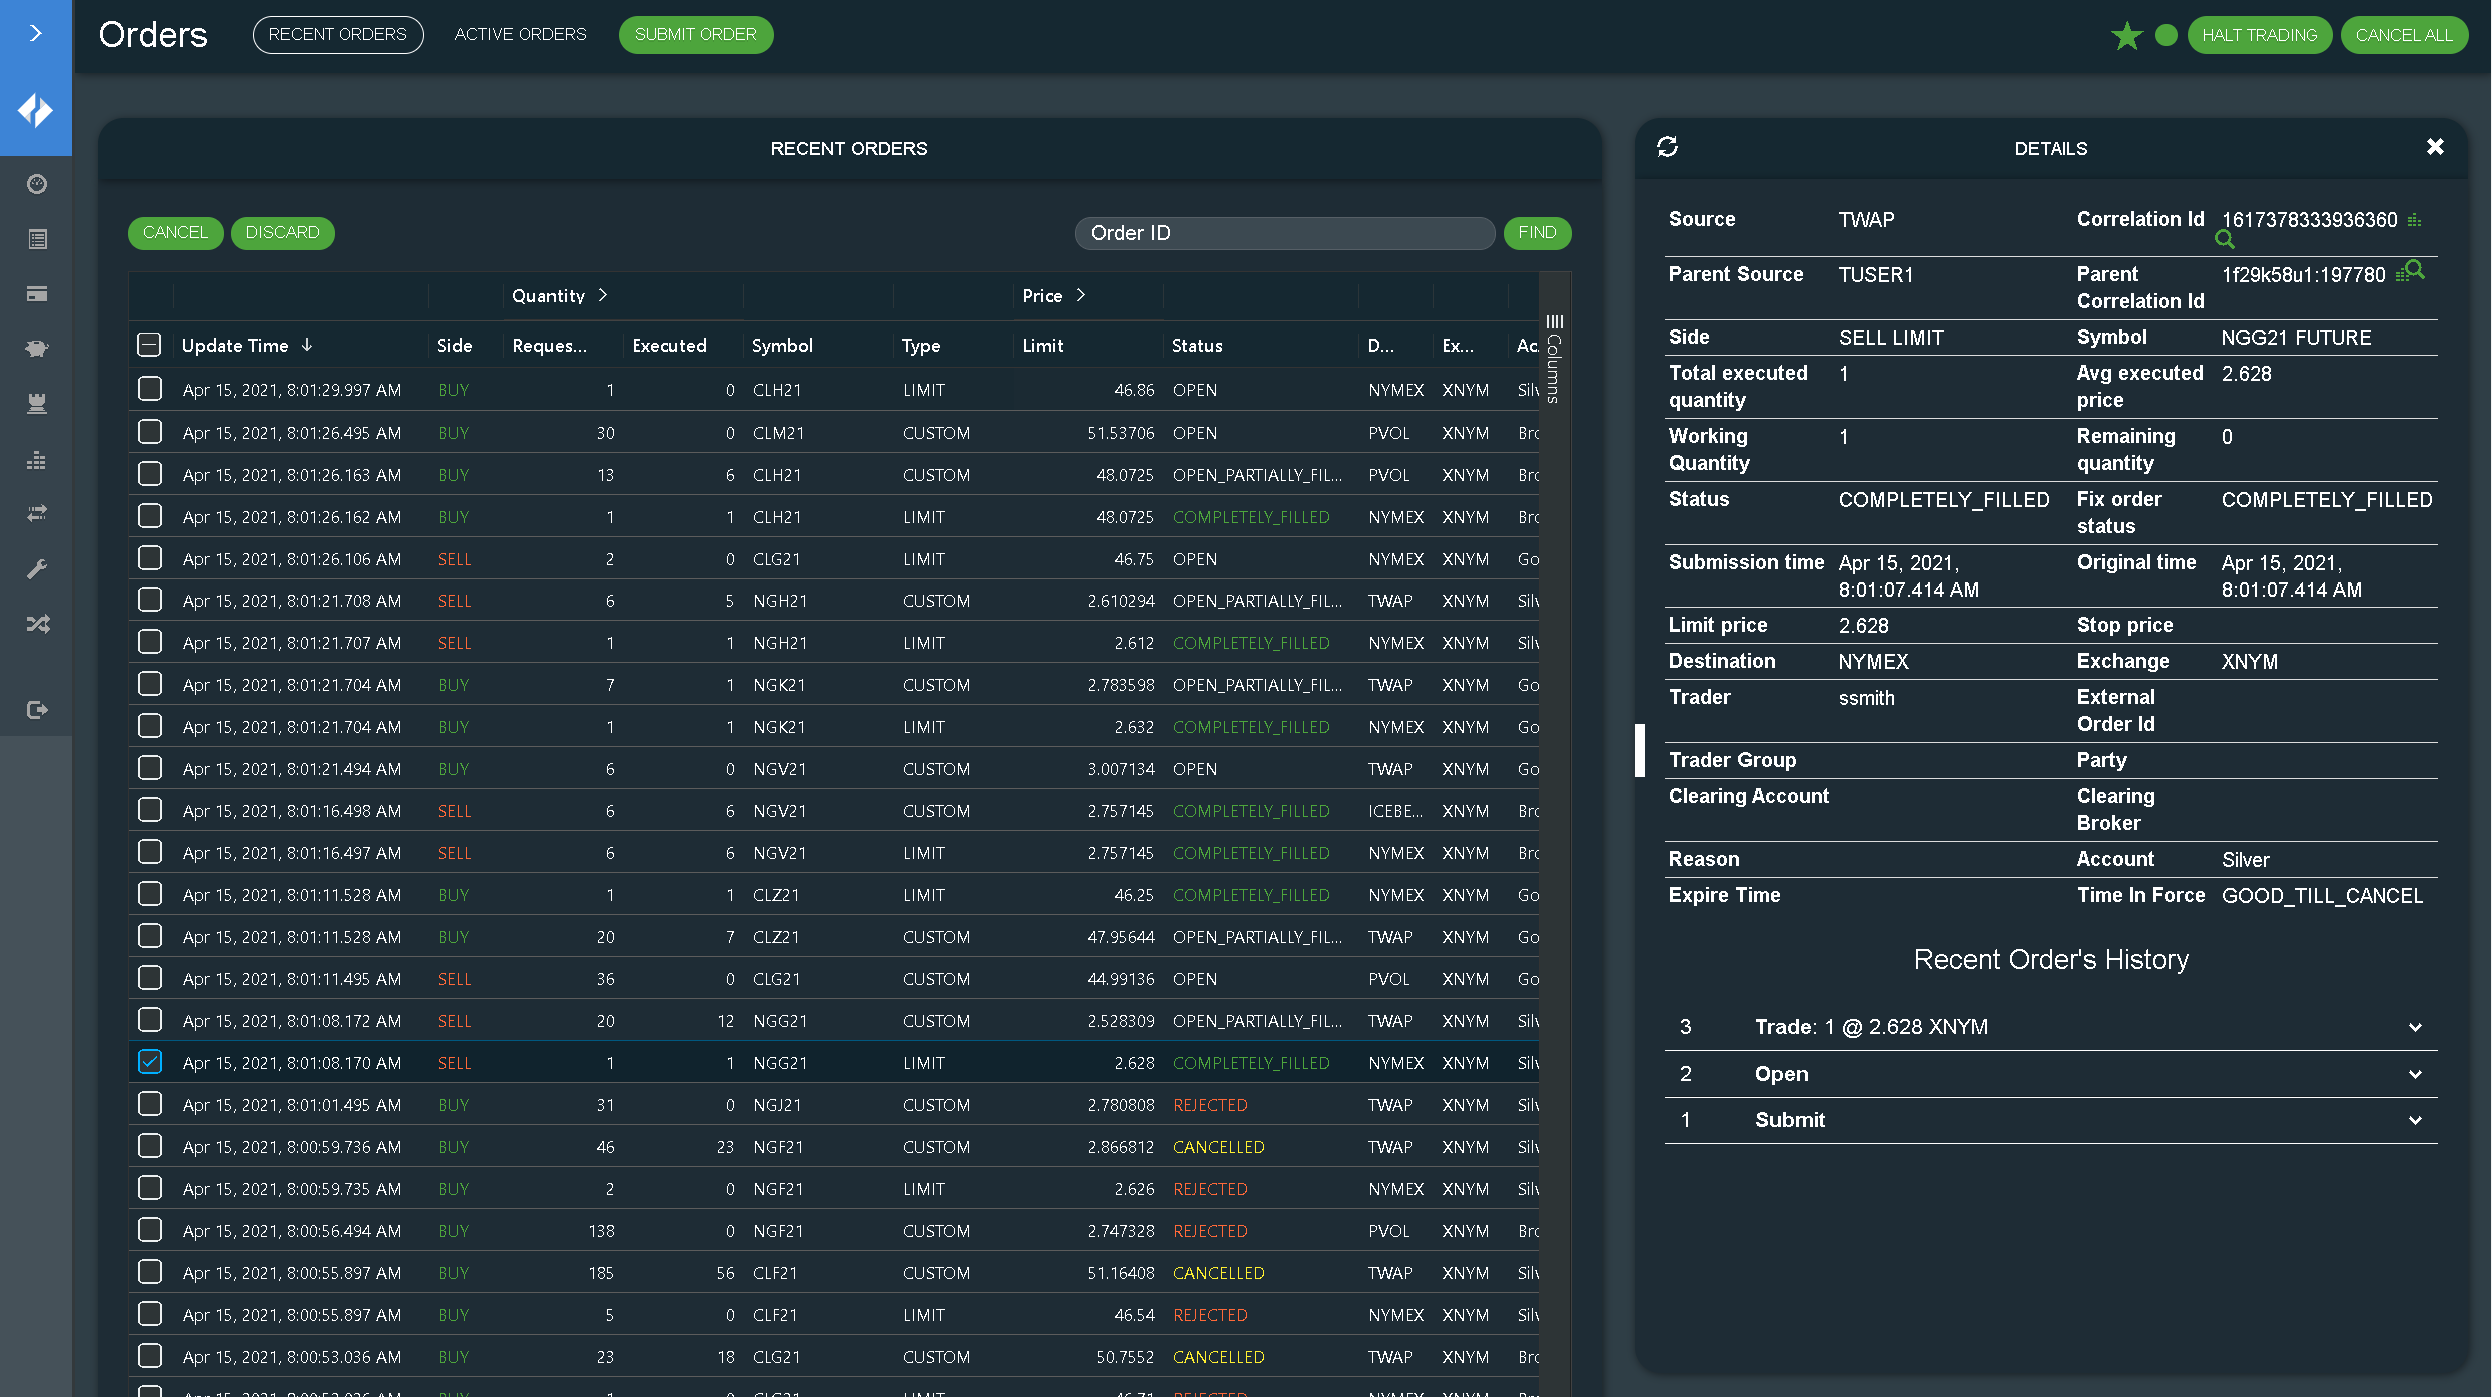
Congratulations, Ember is running!
Further Steps
Deploy an Algorithm
Trading Algorithms are the building blocks of an Ember. Let's deploy the "ICEBERG" algorithm that takes a large order and slices it into smaller chunks visible on execution venue.
Add the following block into ember.conf to deploy the ICEBERG algorithm implemented by the deltix.ember.service.algorithm.samples.iceberg package:
algorithms {
  ICEBERG : ${template.algorithm.default} {
    factory = deltix.ember.service.algorithm.samples.iceberg.IcebergSampleAlgorithmFactory
    queueCapacity = 4M
    settings {
      destinationId = SIM
    }
  }
}
You can read more about the design of algorithms and deployment parameters in theAlgorithm Developer's Guide.
Configure a Trade Connector
Trade connectors route orders to execution venues and bring back trading events.
For example, let's assume we have a connection to a CME iLink MSGW gateway. The following configuration fragment enables the CME connector and defines connection parameters:
connectors {
  CME : ${CMEMSGW} {
    settings {
      senderCompId = ROGUE1N
      targetCompId = CME
      host=69.50.112.141
      port=61529
    }
  }
}
The above connector is registered under the name CME (case-sensitive). This definition uses the predefined connector type "cmemsgw" that converts Ember orders to CME MSGW iLink format and talks to CME iLink.
The Ember is integrated with 100+ different execution venues like CME.
IMPORTANT: Trading connectors are shipped in the emberpack container.
You can read more about the design of trading connectors and deployment parameters in the Trading Connector Developer's Guide and the Configuration Reference Manual.
Send a Test Order
There are several ways to send test orders:
- Open Ember Monitor GUI and submit new order on the Orders panel.
- Use the Java API as shown in SubmitOrderSample.
- Configure a FIX API Gateway and submit an order via Ember FIX API (for example, from the Deltix Strategy Server or Trading Console). We also have a Python example on how to do this.
- Configure a REST/WebSocket API Gateway and submit an order via Ember REST API (for example, from the Deltix Strategy Server or Trading Console). There is also a Python example on how to do this.
- Implement an order execution algorithm or matching engine using the Ember Algorithm API.